“再”学习不一样的Vue:Vuex的使用
前言
学习Vue的过程中,看完 Vue.js 官网的基础知识,特别想要找一个项目练练手。看到了杨怡的教程《学习不一样的Vue》,github上 vue-todos 标星1.5k,动手实践的过程中,碰到了各种问题,故此记录下学习的过程。
源地址
- 首发博客: yangyi1024
- 项目源码: 源码
- 项目预览: 预览
兄弟组件如何传递数据

Menus.vue 和 Todo.vue 的数据需要相互传递,但是 Vue 中进行兄弟组件之间的传值比较麻烦。在 Vue 中,可以利用 props 和 emit 来进行父子之间的数据传递。
方法一:使用 bus.js 文件中转
1. 创建 bus.js
// bus.js
export const Bus = new Vue({});
2. 兄弟组件借助 bus.js 通信
import { Bus } from './bus'; // make sure you use the correct relative path
Bus.$emit(...) // 发送数据
Bus.$on(...) // 接受数据
方法二:使用 Vuex
Vuex 是一个专为 Vue.js 应用程序开发的状态管理模式。它采用集中式存储管理应用的所有组件的状态,并以相应的规则保证状态以一种可��预测的方式发生变化。
Vuex 就是将组件的共享状态抽取出来,作为全局单例模式进行管理,我们的组件树构成了一个巨大的“视图”,不管在树的哪个位置,任何组件都能获取状态或者触发行为!
import Vue from 'vue'
import Vuex from 'vuex'

Vue.use(Vuex) // 安装 Vuex 插件

const store = new Vuex.Store({
  state: { // 全局状态变量
    count: 0
  },
  mutations: { // 操作全局状态
    increment (state) {
      state.count++
    }
  },
  getters: {},
  actions: {},
})
下面简单介绍一下基本概念
- state:Vuex 使用单一状态树——是的,用一个对象就包含了全部的应用层级状态。这和 Vue 实例中的 data数据是一样的。
- mutations: 对数据的处理,虽然我们可以直接对
vm.$store.state.count进行修改,但是一般不建议这样做。mutation应该是修改state的唯一入口。但是mutations不能执行异步操作,异步操作使用 actions。 - actions:和mutations 作用相同,不同的是可以执行异步操作。还有 actions 也是通过提交 mutations 来修改数据
- getters:用于从state 中派生出一些状态,例如统计列表的个数。当它作为属性使用的时候,是具有缓存的。
使用 Vuex 替代旧数据
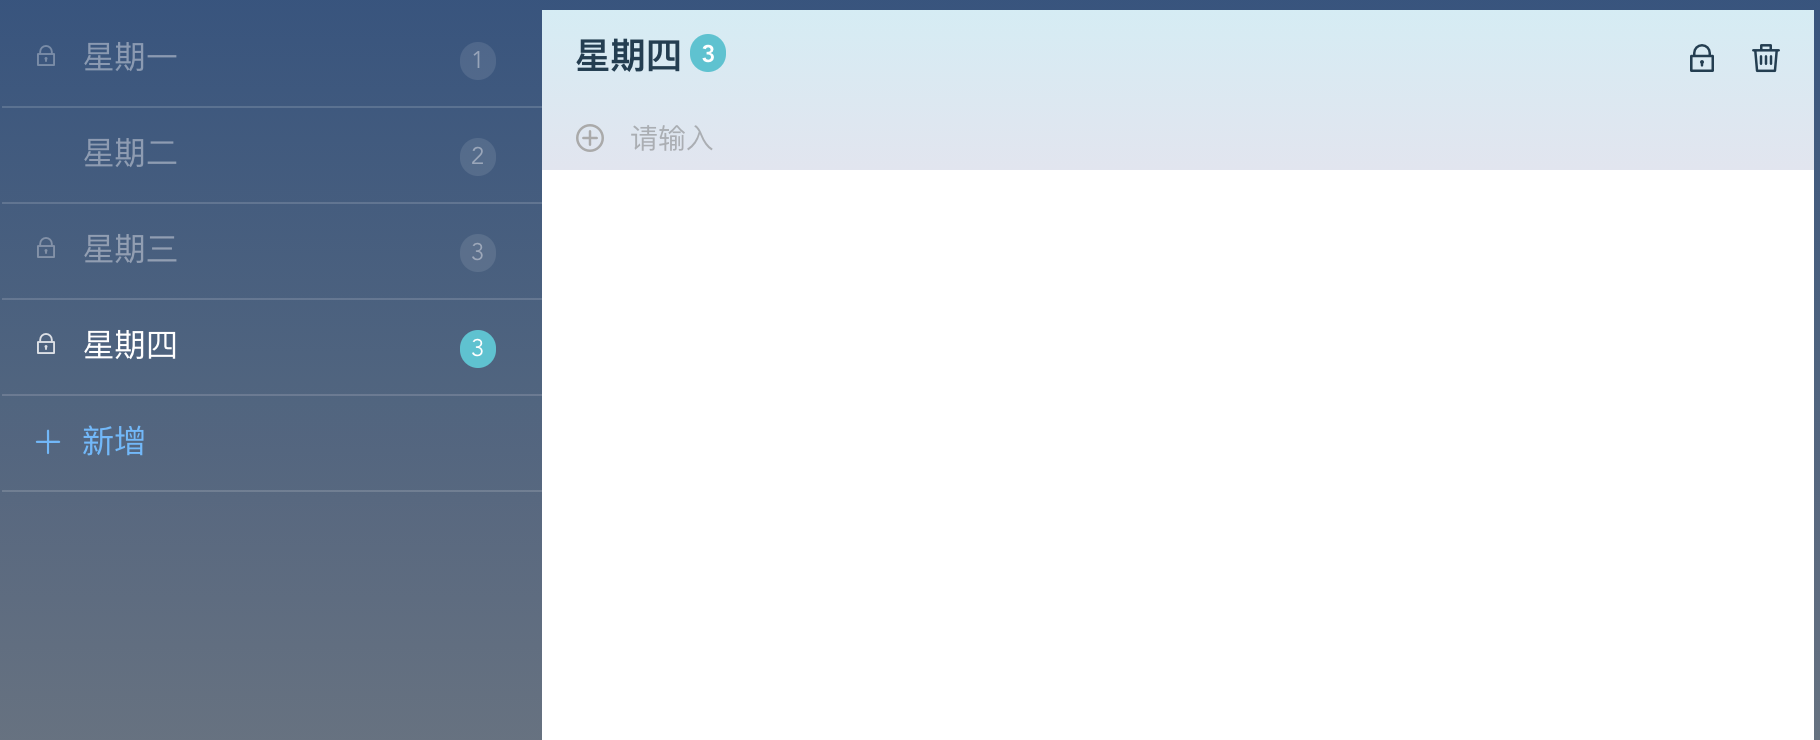
将 menus.vue 数据迁移到 vuex 的 state
修改src/store/index.js
// src/store/index.js
import Vue from 'vue'
import Vuex from 'vuex'
import * as getters from './getters';

Vue.use(Vuex); // 安装 Vuex 插件

export default new Vuex.Store({
  // 严格模式下,无论何时发生了状态变更且不是由 mutation 函数引起的,将会抛出错误
  strict: true,
  // 创建初始应用全局状态变量
  state: {
    // 指我们的待办事项列表数据
    todoList: [
        { title: '星期一', count: 1, locked: true , id: 'a', isDelete: false },
        { title: '星期二', count: 2, locked: false, id: 'b', isDelete: false },
        { title: '星期三', count: 3, locked: true, id: 'c', isDelete: false },
    ],
  },
  // 定义所需的 mutations, 用来操作 state 数据
  mutations: {
    EDITTODE(state, data) { // 定义名为 EDITTODE函数用作改变todoList的值
      state.todoList = data;
    },
    ADDTODO(state) { // 添加新的 TODO 菜单
      state.todoList.push(
        { title: '星期四', count: 3, locked: true, id: Math.floor(Math.random() * 1000 + 1), isDelete: false }
      )
    },
    UPDATETODE(state, todo) { // 某一项数据进行了更新
      state.todoList.some((t, index) => {
        if (t.id == todo.id) {
            t.title = todo.title;
            t.locked = todo.locked;
            t.isDelete = todo.isDelete;
            return true;
        }
      });
    }
  },
  getters: getters, // 获取数据
  actions: {},
  modules: {}
})
在 getters.js 中,定义 getTodoList 用于获取 TodoList 菜单,定义 getTodoId 获取 id 对应的方法。getTodoId 定义的是方法,参考 通过方法访问 。
Tips: 创建新Todo的时候保证ID唯一性,这里使用
Math.floor(Math.random() * 1000 + 1)使用随机数,当然这不是很严谨。后续用 Mock.js 替代
新增 src/store/getters.js
// src/store/getters.js
export const getTodoList = state => {
    return state.todoList.filter(todo => !todo.isDelete); // 删除的过滤掉
}

export const getTodoId = (state, getters) => (id) => { // state 是必选参数,也可以使用其他getters属性
    return getters.getTodoList.find (todo => {
        if (todo.id === id) {
            return todo;
        }
    });
}
修改 src/components/menus.vue
<!-- src/components/menus.vue -->
<template>
  <!--绑定点击事件goList),并且判断当todoId 时候 item.id时,文字高亮度-->
  <div class="list-todos">
    <!-- 绑定class,当items循环中的id等于我们设置的选中todoId时候,就会加上active这个calss,这样样式就会发生变化。-->
    <a @click="goList(item.id)" class="list-todo list activeListClass" :class="{'active': item.id === todoId}" v-for="(item,index) in todoList" :key="index">
      <!-- 把以前的item换成todoList -->
      <span class="icon-lock" v-if="item.locked"></span>
      <span class="count-list" v-if="item.count > 0">{{item.count}}</span>
      {{item.title}}
    </a>
    <a class=" link-list-new" @click="addTodoList">
      <span class="icon-plus">
      </span>
      新增
    </a>
  </div>
</template>

<script>
export default {
  data() {
    return {
      todoId: '', // 默认选中id,
      todoNum: 0 // 新增一个状态来判断代办事项的数据
    };
  },
  methods: {
    goList(id) { // 选中菜单,切换视图
      this.todoId = id;
    },
    addTodoList() { // 新增菜单
      this.$store.commit('ADDTODO');
      this.goList(this.todoList[this.todoList.length - 1].id);
    }
  },
  watch: { // 监听 this.todoId 的变化
    'todoId'(id) {
      this.$router.push({ name: 'todo', params: {id: id}});
    }
  },
  created() {
    this.goList(this.todoList[0].id);
  },
  computed: {
    todoList(){
      const getters = this.$store.getters.getTodoList; // 获取 vuex数据
      if (getters.length < this.todoNum && getters.length ){ // 删除的话,切换视图
        this.goList(getters[0].id);
      }
      this.todoNum = getters.length; // 更新列表条目
      return getters; // 返回vuex getters.js 定义的getTodoList数据
    }
  }
};
</script>

<style lang="less">
@import '../common/style/menu.less';
</style>
小Tips:
watch: { // 监听 this.todoId 的变化
    'todoId'(id) {
      this.$router.push({ name: 'todo', params: {id: id}});
    }
  },
这里 todoId 是字符串函数,后面的id 其实是 newValue。这里也可以写成更普通的方法。更多参考:侦听器 的使用
watch: { // 监听 this.todoId 的变化
    todoId: function (newValue, oldValue) {
      console.log('newValue: %s, oldValue%s ', newValue, oldValue);
      this.$router.push({ name: 'todo', params: {id: newValue}});
    }
},
修改 Todo.vue
// src/components/todo.vue
<template>
<div class="page lists-show" v-show="!todo.isDelete">
<!-- 头部模块 -->
<nav>
<!-- 当用户浏览车窗口尺寸小于40em时候,显示手机端的菜单图标 -->
<div class="form list-edit-form" v-show="isUpdate">
<!-- 当用户点击标题进入修改状态,就显示当前内容可以修改 -->
<input type="text" v-model="todo.title" @keyup.enter="updateTitle" :disabled="todo.locked">
<div class="nav-group right">
<a class="nav-item" @click="isUpdate = false">
<span class="icon-close">
</span>
</a>
</div>
</div>
<div class="nav-group" v-show="!isUpdate">
<!-- 在菜单的图标下面添加updateMenu时间,他可以直接调用vuex actions.js里面的updateMenu方法 -->
<a class="nav-item">
<span class="icon-list-unordered">
</span>
</a>
</div>
<!-- 显示标题和数字模块 -->
<h1 class="title-page" v-show="!isUpdate" @click="isUpdate = true">
<span class="title-wrapper">{{todo.title}}</span>
<!-- title:标题 绑定标题 -->
<span class="count-list">{{todo.count || 0}}</span>
<!-- count:数量 绑定代办单项熟练-->
</h1>
<!-- 右边显示删除图标和锁定图标的模块 -->
<div class="nav-group right" v-show="!isUpdate">
<div class="options-web">
<a class=" nav-item" @click="onlock">
<!-- cicon-lock锁定的图标
icon-unlock:非锁定的图标
-->
<span class="icon-lock" v-if="todo.locked"></span>
<span class="icon-unlock" v-else>
</span>
</a>
<a class="nav-item">
<span class="icon-trash" @click="onDelete">
</span>
</a>
</div>
</div>
<!-- 用户新增代办事项的input模块 -->
<div class=" form todo-new input-symbol">
<!-- 绑定disabled值,当todo.locked为绑定的时候,禁止input输入,双向绑��定text,和监听input的回车事件@keyup.enter -->
<input type="text" v-model="text" placeholder='请输入' @keyup.enter="onAdd" :disabled="todo.locked" />
<span class="icon-add"></span>
</div>
</nav>
<!-- 列表主体模块 -->
<div class="content-scrollable list-items">
<div v-for="(item,index) in items">
<item :item="item" :index="index" :id="todo.id" :init="init" :locked="todo.locked"></item>
</div>
</div>
</div>
</template>
<script>
export default {
data() {
return {
todo: {},
items: [ // 代办单项列表
],
text: '', // 用户输入单项项绑定的输入
isUpdate: false // 新增修改状态
};
},
created() {
this.init();
},
watch: {
'$route.params.id'() {
// 监听$route.params.id的变化,如果这个id即代表用户点击了其他的待办项需要重新请求数据。
this.init();
}
},
methods: {
init() { // 初始化
const ID = this.$route.params.id;
let { id, title, count, isDelete, locked } = this.$store.getters.getTodoId(ID);
this.todo = {
id: id,
title: title,
count: count,
locked: locked,
isDelete: isDelete
}
},
updateTodo(){ // 更新 todo 菜单
this.$store.commit('UPDATETODE', this.todo);
},
onAdd() {}, // 添加 TODO项
updateTitle() { // 更新 菜单名称
this.updateTodo();
this.isUpdate = false;
},
onDelete() { // ��删除 TODO 菜单
this.todo.isDelete = true;
this.updateTodo();
},
onlock() { // 锁定 TODO 菜单
this.todo.locked = !this.todo.locked;
this.updateTodo();
}
}
};
</script>
<style lang = "less">
@import '../common/style/nav.less';
@import '../common/style/form.less';
@import '../common/style/todo.less';
</style>
运行程序
$ npm run serve
程序的大部分功能已经可以正常运行了,下面编写 Todo项的部分

我的仓库
这里,我将学习过程同步到 我的仓库 中
$ git add -A
$ git commit -m "“再”学习不一样的Vue:Vuex的使用"
# 强制同步
$ git push -f https://github.com/PPsteven/vue-todos-exercise.git master
